Guide: Build a website with SlashPage
If you're on this page, congratulations! "Well begun is half done!" Creating your own website with SlashPage literally takes just a few minutes. Follow the steps below:
1.
Sign up for slashpage and create your website - Click 'New Site'

2.
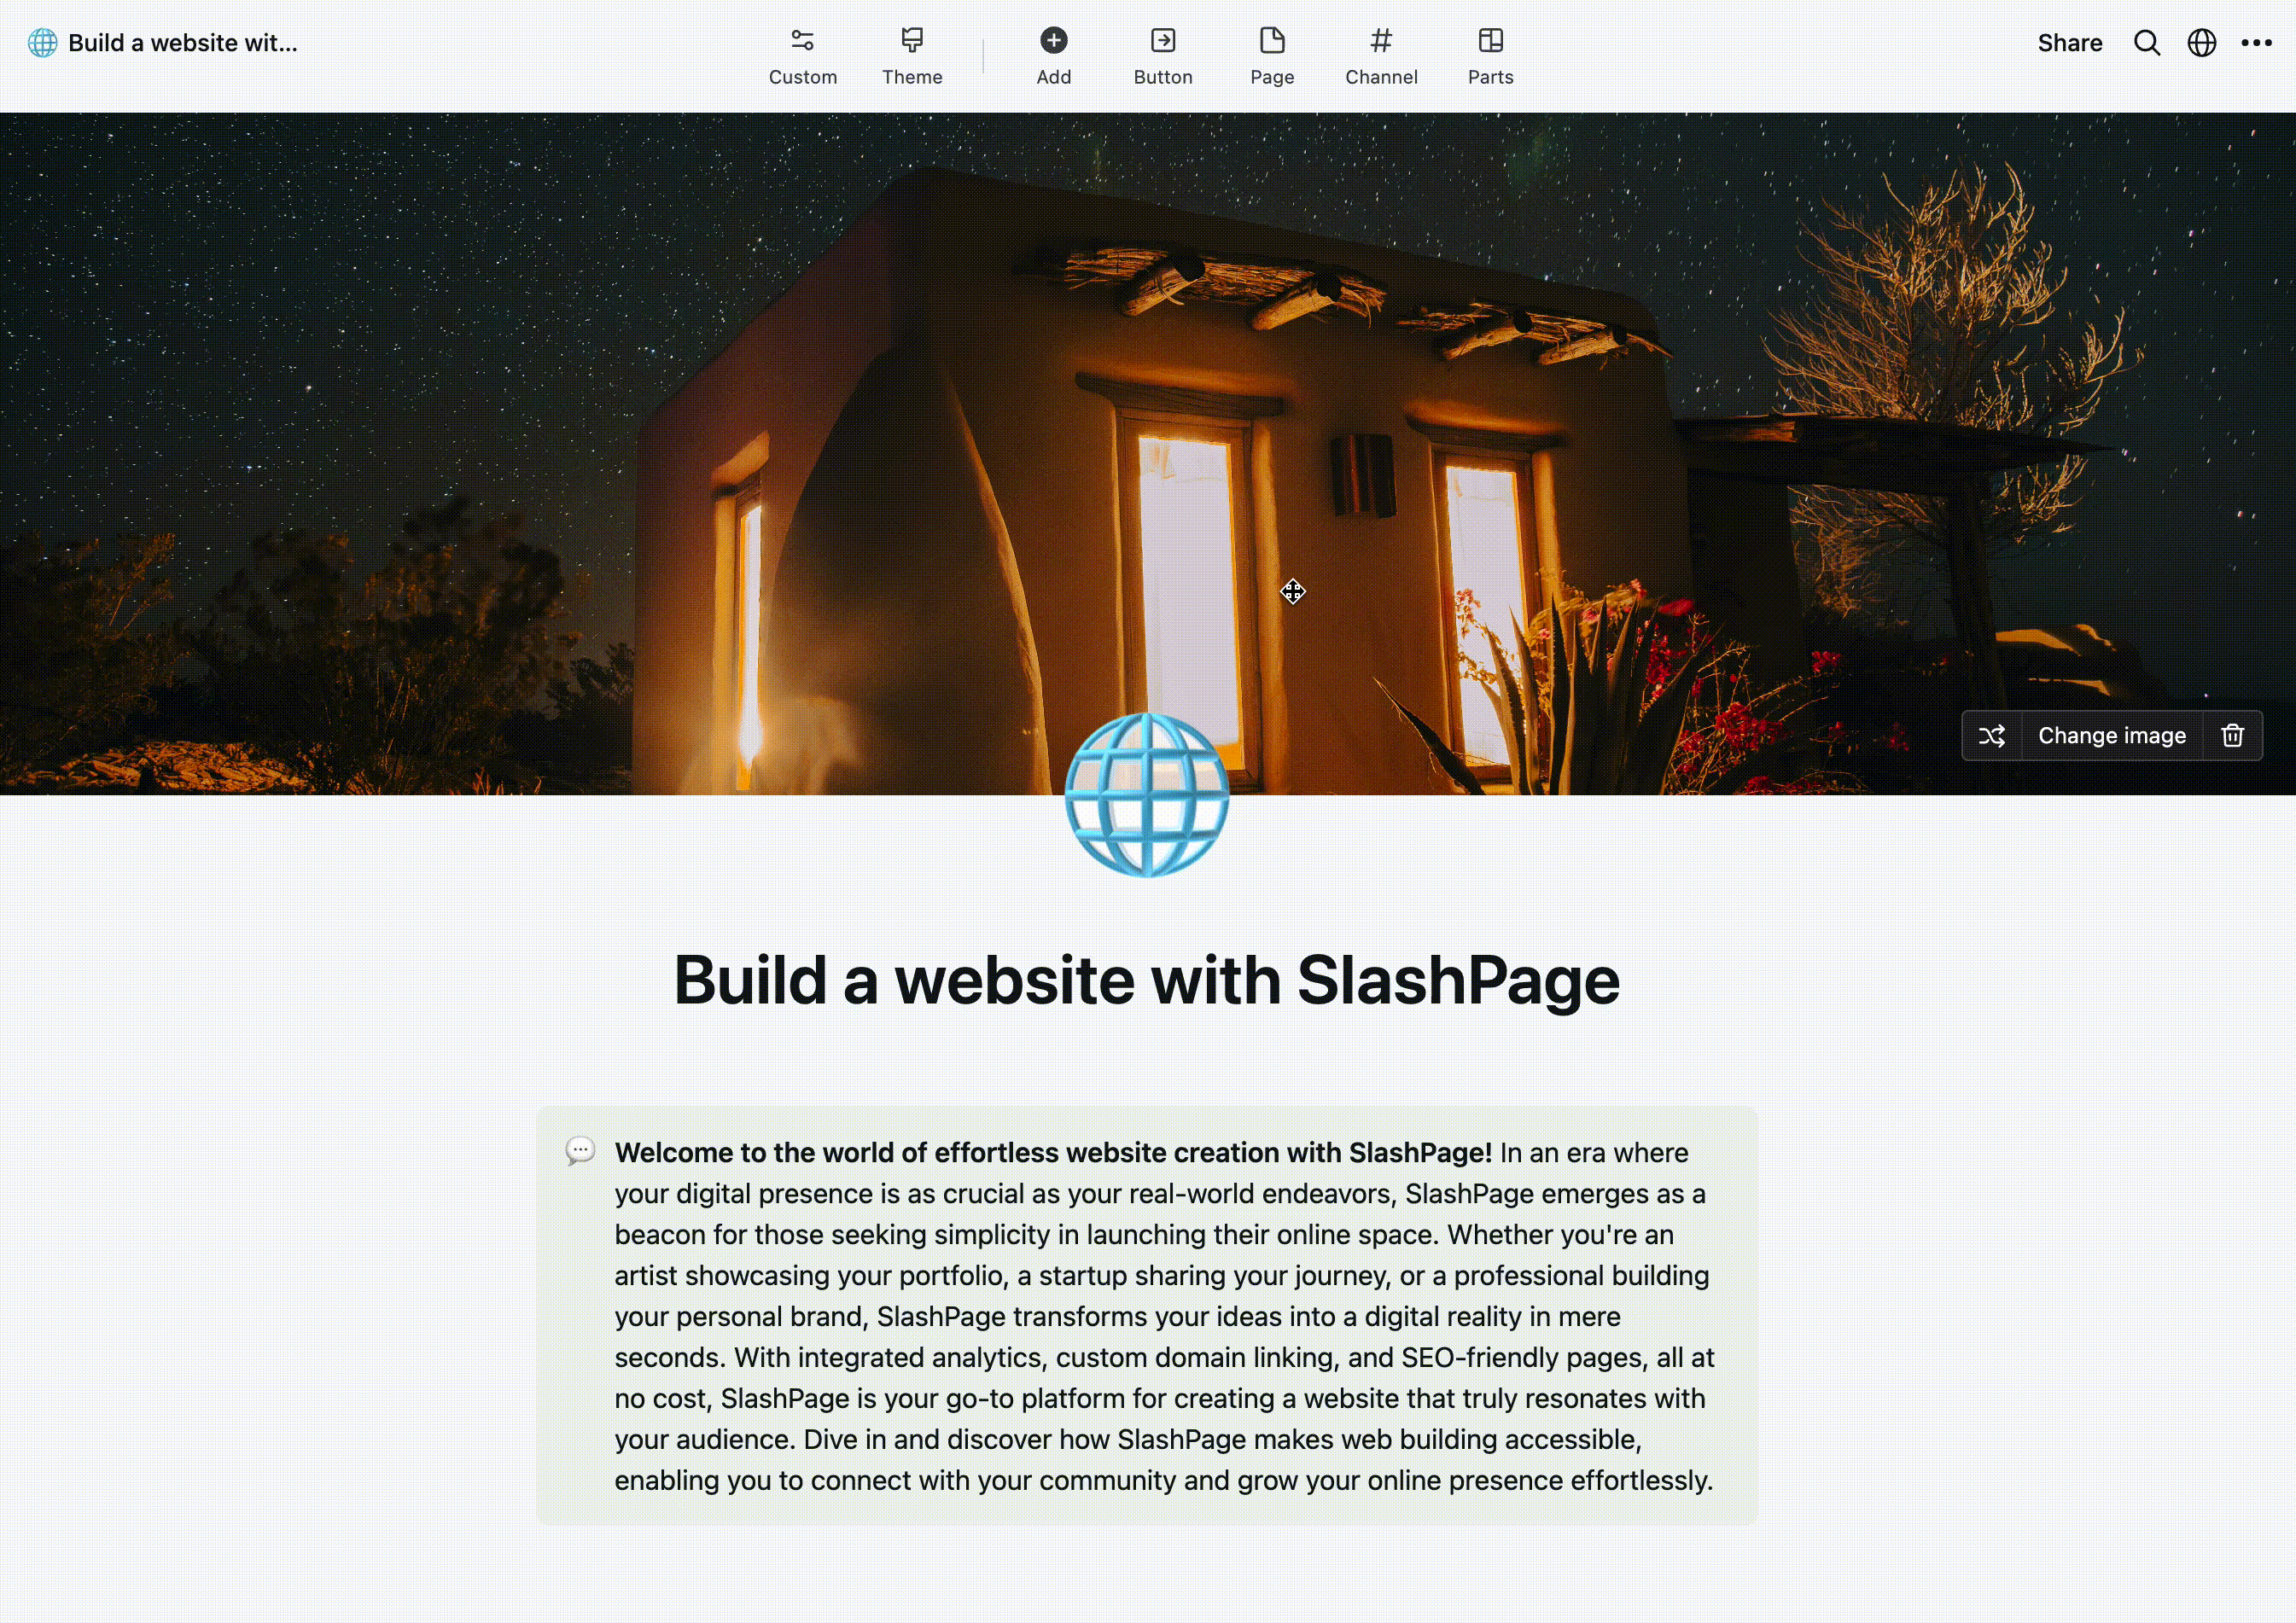
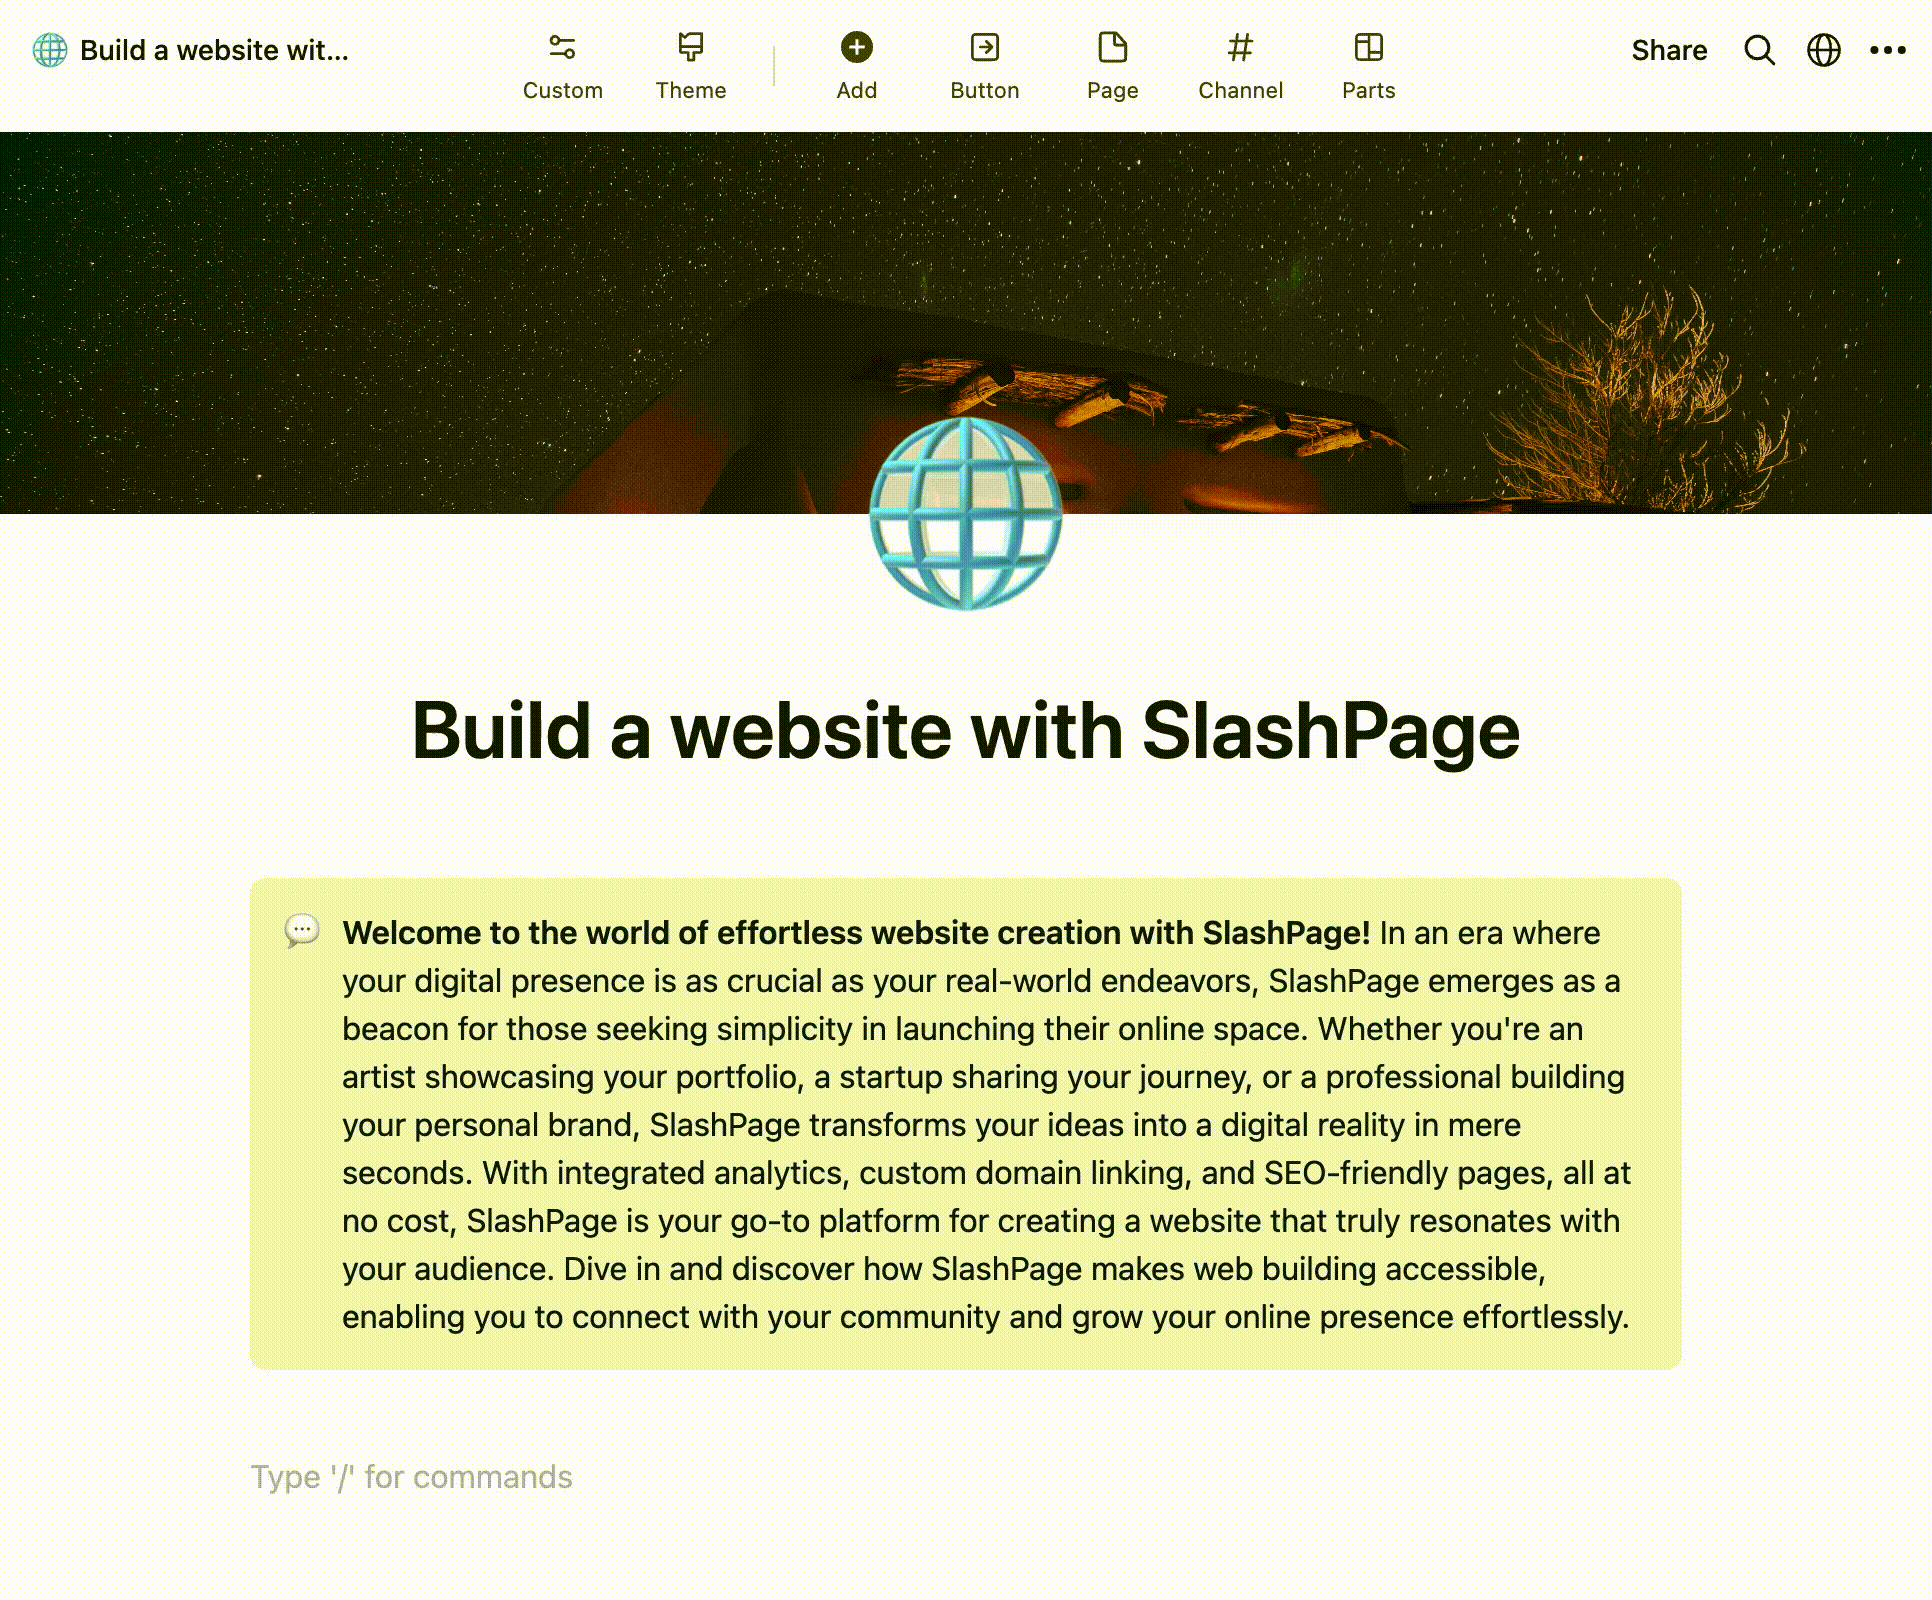
Customize your site - Click 'Custom' to add a Cover, Icon, Title, or various features.

3.
Select the Theme - Choose the best theme that fits your website.
4.
Add your content - You can start typing or adding features by clicking the 'Add' button at the top or typing '/' to add various features on your website - heading, text, toggle, column, image slider, list, button and whatever!
Have no idea how to start? - Try Parts

5.
Incorporate channels - Add dynamic functions to your website such as Chat, Blog, Feed, and Gallery by clicking 'Add Channel' to make your website more interactive!

6.
Set Members/Permissions - Navigate to the Page/Channel Settings by clicking the ellipsis (three dots) at the top right, and configure who has the ability to view, post, or comment on your page/channel.

7.
Share your website to the web - When you're ready, click the 'Share' button at the top right to make it 'Public'. Also, enable 'Share to search engines' to make your website SEO-friendly, allowing more people to find your website through searches!

Your website is now live on the web!
You can edit it anytime, and the changes will be updated instantly.
Feeling overwhelmed by all the features?
Don't worry. You can explore them one by one at your own pace.
Don't worry. You can explore them one by one at your own pace.
Keep it simple—that's what SlashPage is all about.

Interested in a personalized guide session?
Schedule a meeting here, and I'll help you explore all the features you're interested in!
Schedule a meeting here, and I'll help you explore all the features you're interested in!
